Lab 00 - Docker recap
Robotics II
Poznan University of Technology, Institute of Robotics and Machine Intelligence

Laboratory 0: A recap of Docker usage
Back to the course table of contents
1. Docker
Installation using the repository
- Remove older versions of Docker:
sudo apt remove docker docker-engine docker.io containerd runc- Update and install required packages:
sudo apt update

sudo apt install ca-certificates curl gnupg lsb-release- Add Docker’s official GPG key:
curl -fsSL https://download.docker.com/linux/ubuntu/gpg | sudo gpg --dearmor -o /usr/share/keyrings/docker-archive-keyring.gpg- Set up stable Docker repository:
echo \
    "deb [arch=$(dpkg --print-architecture) signed-by=/usr/share/keyrings/docker-archive-keyring.gpg] https://download.docker.com/linux/ubuntu \
    $(lsb_release -cs) stable" | sudo tee /etc/apt/sources.list.d/docker.list > /dev/null
The above steps and further documentation is also available here.
2. NVIDIA Container Toolkit
To get the support for NVIDIA GPU Drivers which are needed for Simulator which uses NVIDIA Vulkan and Deep Learning algorithms inside container one has to install NVIDIA Container Toolkit.
- Setup the stable repository and the GPG key:
distribution=$(. /etc/os-release;echo $ID$VERSION_ID) \
    && curl -s -L https://nvidia.github.io/nvidia-docker/gpgkey | sudo apt-key add - \
&& curl -s -L https://nvidia.github.io/nvidia-docker/$distribution/nvidia-docker.list | sudo tee /etc/apt/sources.list.d/nvidia-docker.list- Update packages and install nvidia-docker2:
sudo apt update

sudo apt install -y nvidia-docker2- Restart the Docker daemon to complete the installation after setting the default runtime:
sudo systemctl restart docker- Test setup by running a base CUDA container:
sudo docker run --rm --gpus all nvidia/cuda:11.0-base nvidia-smi+-----------------------------------------------------------------------------+
| NVIDIA-SMI 450.51.06 Driver Version: 450.51.06 CUDA Version: 11.0 |
|-------------------------------+----------------------+----------------------+
| GPU Name Persistence-M| Bus-Id Disp.A | Volatile Uncorr. ECC |
| Fan Temp Perf Pwr:Usage/Cap| Memory-Usage | GPU-Util Compute M. |
| | | MIG M. |
|===============================+======================+======================|
| 0 Tesla T4 On | 00000000:00:1E.0 Off | 0 |
| N/A 34C P8 9W / 70W | 0MiB / 15109MiB | 0% Default |
| | | N/A |
+-------------------------------+----------------------+----------------------+
+-----------------------------------------------------------------------------+
| Processes: |
| GPU GI CI PID Type Process name GPU Memory |
| ID ID Usage |
|=============================================================================|
| No running processes found |
+-----------------------------------------------------------------------------+The above steps are also described in official documentation - available here.
3. Docker commands
- list Docker images:
docker images- list all Docker containers:
docker ps -a- start Docker container:
docker start <CONTAINER NAME>- execute an interactive bash shell on the container:
docker exec -it <CONTAINER NAME> bash- copy file from host to container:
docker cp path/to/file/on/host <CONTAINER NAME>:path/to/file/in/container- copy file from container to host:
docker cp <CONTAINER NAME>:path/to/file/in/container path/to/file/on/host4. Docker in Visual Studio Code
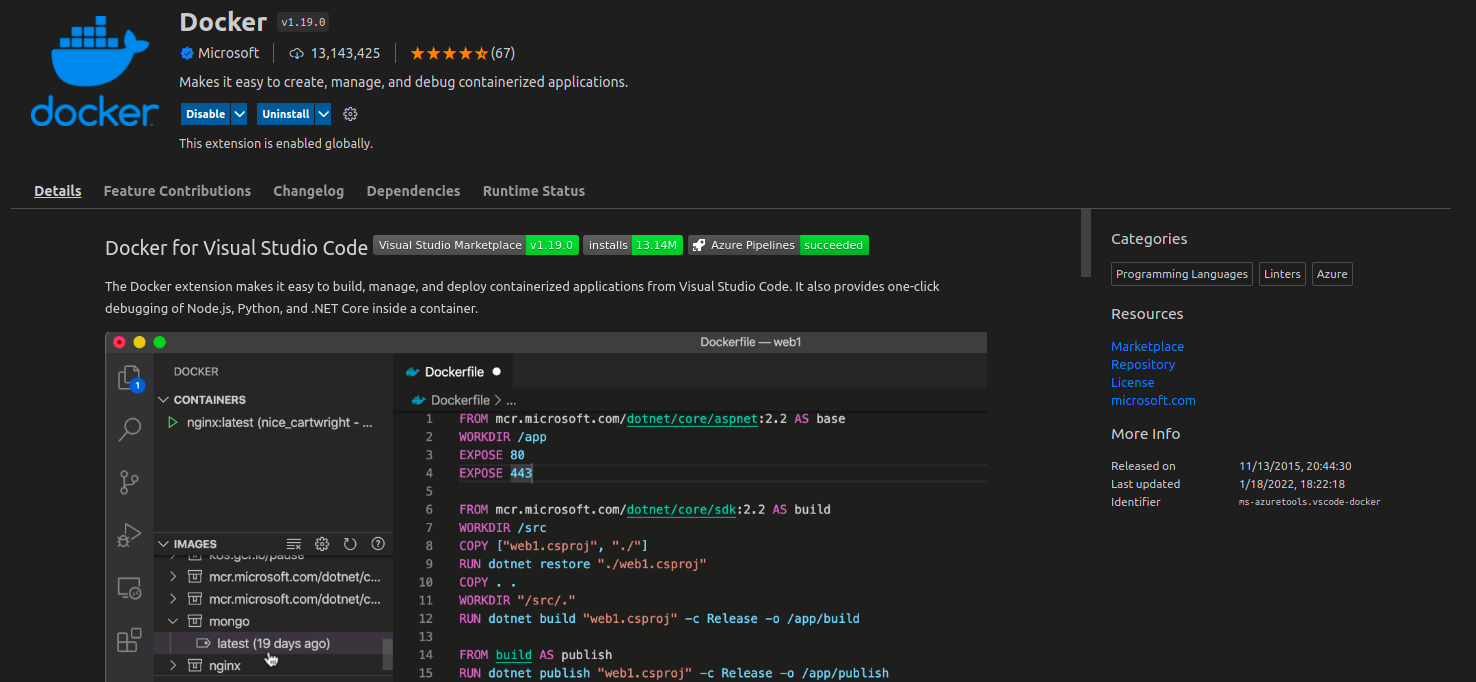
To easily edit files in host editor one can use Docker extension for Visual Studio Code:

The extension automatically adds a new icon in the left-side panel
with the Docker logo. All available containers are in the
Containers tab. They can be started/stopped - mouse
right-click menu. Files can be edited only in started containers.